
Hi guys, I did a worksheet! (:
|
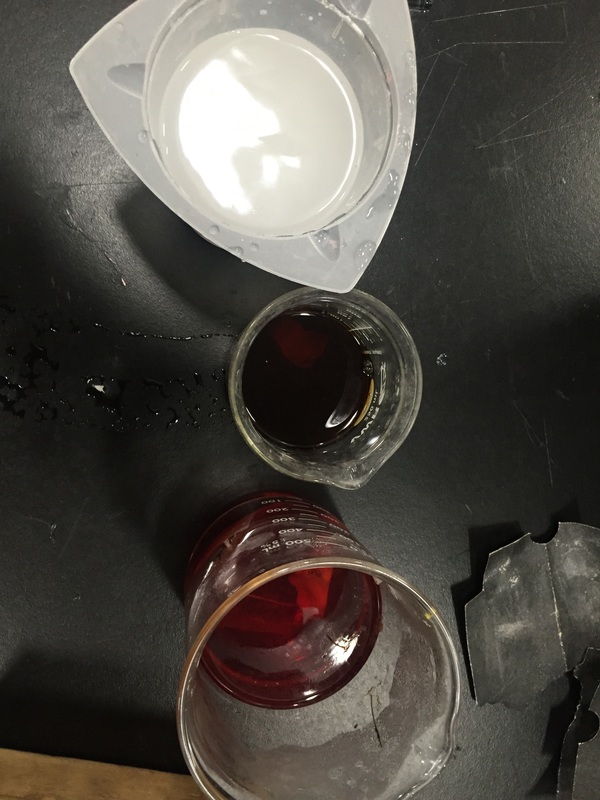
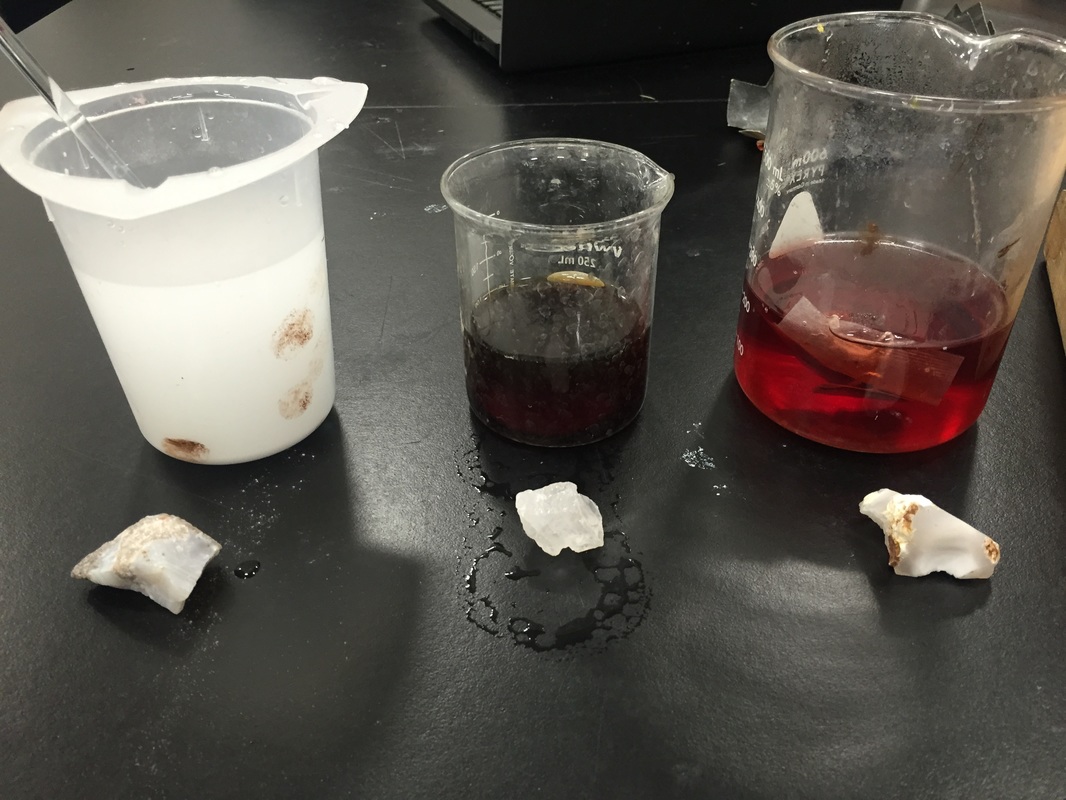
In this project my goal was to figure out the effects that coffee, tea, and baking soda do to teeth. I chose those 3 items because coffee and tea are the most common drinks that people consume on a daily basis and baking soda happens to be the most popular DIY method of teeth whiting. Since science is about questioning and experimenting I decided to do so. I wanted precise information and this experiment took a total of 8 days before the coffee and tea started to get moldy and gross. Observations: 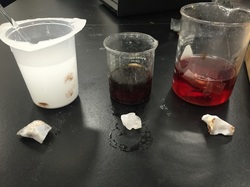 Day 1 Day 1 Here is day one. The rock on the far left is a white marble rock that had a ruff, dusty texture to it. My goal for this rock was to see if the baking soda would disintegrate because if you look on my pervious post baking soda cleans off surfaces. The rock in the middle is a clear marble and sort of reminded me of perfect white teeth so I decided to use that as a substitute for a tooth. Finally the last rock is almost as clear as the coffee rock but has a little bit of dark shades on it. Its ok though. That rock is going to be tested on cranberry apple tea. 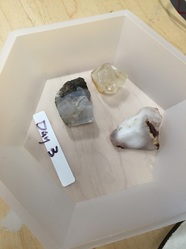 (Day 3) (Day 3) On day three I noticed a significant change to the rocks. The baking soda rock already looked way much clearer. It started to even look a little transparent. I noticed that the powder, rust,an dust began to come off. For the coffee rock, it already started to darken and stain right away and obviously on day 3 it has gotten even worse. The clearness of that rock began to darken and get cloudier and cloudier. :( The tea rock began to stain a little bit red but it looked like it was water soluble which means that the water would probably be able to remove that redness that was starting to stain the rock. 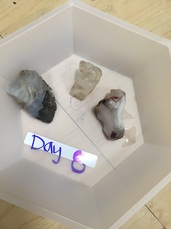 Final Day 8 Final Day 8 On the last day I noticed how different and gross the rocks turned out. The baking soda rock looked clearer than it started and eventually did turn transparent. The coffee rock was brown, cloudy, and dirty looking when it started as a beautiful clear little rock. The tea rock turned red on some of the edges but was still almost the same color on other parts of the rock. So you might be wondering why the tea was able to only stain the edges but not the rest of the rock like the coffee did? Well, teeth have microscopic pits and ridges (like rocks) that easily collect things like food and heavy colored drinks. Rocks have something similar because like teeth rocks also have different edges and bumps all over which is why the redness of the tea mostly stained in the edges of the rock. The beautiful, clear, crystal rock that was put in the coffee also had lots of bumps EVERYWHERE, which was a reason as to why it stained to quickly and badly. And finally the baking soda rock was able to get nice and shinny thanks for the baking soda.
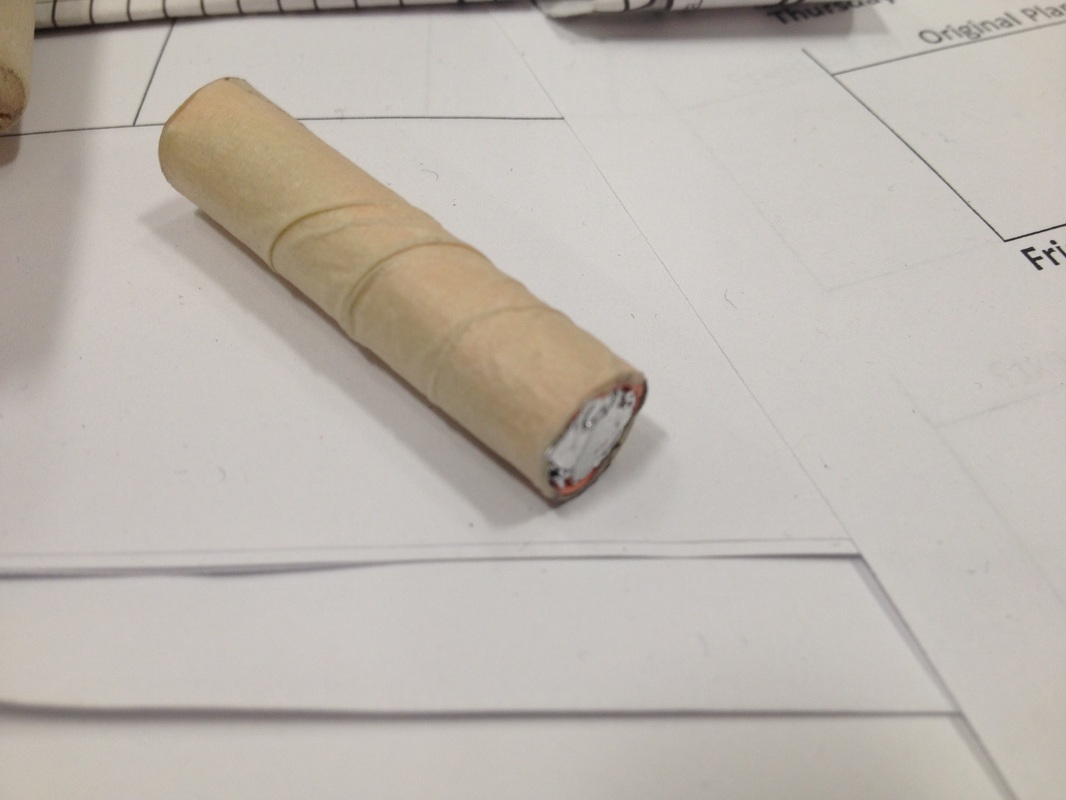
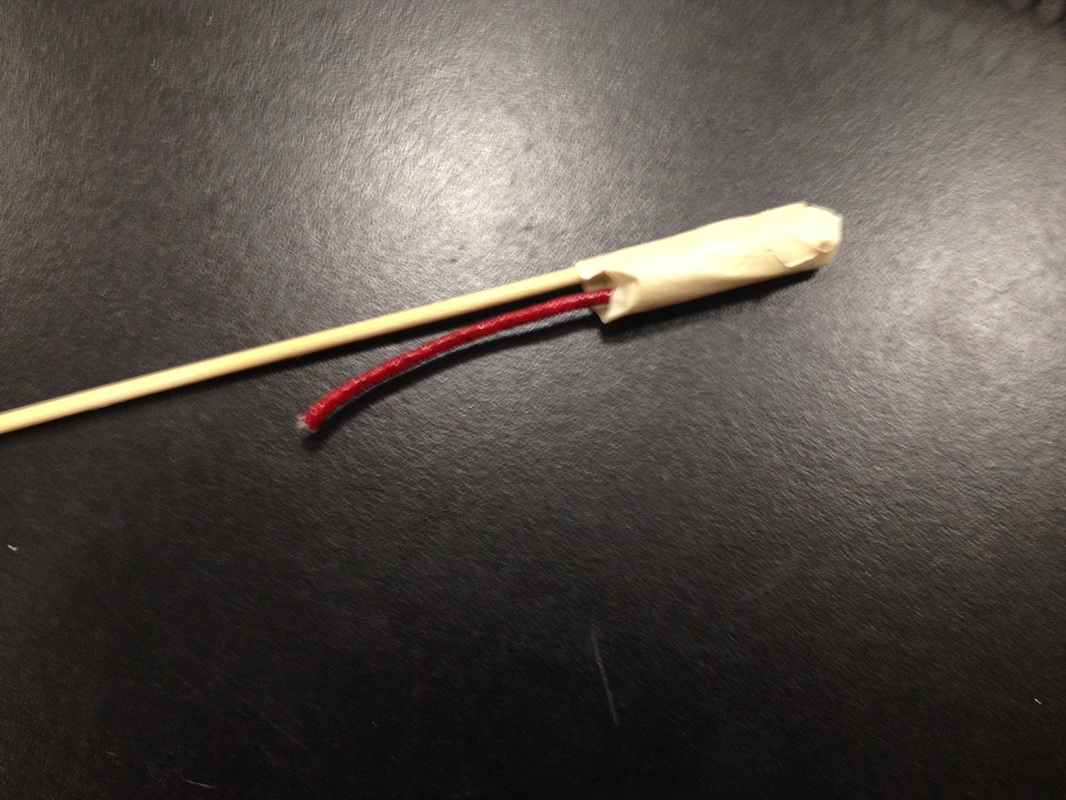
This project turned out just as I thought it would. All my results were expected except for the tea. I did not think that the tea would be able to stain because it is basically just plants or leafs soaked into water. Obviously its a safety hazard to keep something that is molding so I had to throw it put but, if I could keep this experiment going I would because I would want to keep those rocks soaking and put them to the test to see if the baking soda would be able remove the stains and how long it would take. From this project I take away a lot of new knowledge about coffee and teeth whiting because I am a coffee addict. But now that I know all the damage that coffee can cause your teeth and health, I will slow it down with all the coffee. Today in class I started an experiment that will end up taking longer than usual but I am still very interesting and DESERVE points for this because I've done a lot of research of this already! (: How did I test this? What I did to test this was by using a cup of tea, a cup of coffee, and a cup of baking soda for the drinks. I also used 3 different types of clear; white rocks to try to substitute for teeth. The reason as to why I decided to do this project is because along with facts coming from dentists, there is also a lot of myths that start to build up from those facts. Results I am hoping to see: The results I am hoping to see is the stained rocks to be able to get bleached or whiten with the baking soda. I also put another rock in baking soda to see if the rock will get any whiter. I put a darkish white into the baking soda to see what will happen. Behind the scenes of baking soda? Baking soda is basically sodium bicarbonate which is non-toxic and able to be used in a lot of things. It can be used in a lot of things, places, and people because baking soda is a weak base of amphoteric. Amphoteric: Reactant towards acids & base Other important terms that you need to know to understand the whole process of teeth whiting with baking soda is, mild abrasive. Baking Soda is considered mild abrasive because it has that chalky sort of texture to it which allows it to remove surface stains on things such as teeth, clothes, and some furniture.  In class we made rockets made out of potassium nitrate, paper, 1 skewer, 1 fuse, aluminum foil, & tape.
Here's the steps: 1- wrap paper around big skewer and tape it down so that it will stay 2- grab a small piece of aluminum foil and stab into the tube. That will become the base 3- add powder and smash it in -this is the main aspect to it 4- top it off with aluminum 5- make a hole with a drill bit 6- add the fuse 7- tape the skewer onto the outside What goes on? When you light the fuse obviously the fire transfers up it lights up the powder which is fuel. After that since the power and thrust is pushing down the rocket pulls up and gets a consistent rate of force by rapidly going fast in speed. To better explain the action as to how rockets start and end here is a diagram. Results: My partner and I were upset that our rocket did not work. I think what went wrong in this was maybe our cap. The rocket let out all of its force and didn't go up at all. The reason for that is not really determined yet but only because there could be a lot of things that can potentially be causing the rocket not to go up. Maybe there was too much inertia. Another thing is that the thing that Andrew was using to hold the rocket down was plastic and with heat plastic melts which could have led to the skewers getting stuck and holding the rocket down from launching. My Partner & I are not rocket scientist so we tried to accomplish this project as best as we could but this was our first time doing it, and I am impressed with all the effort we put into this even though we kind of had to go through it blind folded. If I could do this again then I would like to open up the rocket and see exactly what is missing and try to find an explanation as to why it didn't work that way I could know exactly what is missing. That way when we rebuild it, we know where and why to do things on it.  Would you ever imagine making batteries out of such common material that is used on a daily basis? Well we did. We made batteries the other day using 6 pennies, cardboard, white vinegar, and an led. We thought this would be a good idea because sometimes when you're stranded in the middle of no where and you just might find an led so you could conduct this product. (: (Im not being sarcastic at all.) Keys words that will help you understand this project: Oxidation and Reduction: Basically any chemical reaction that has to do with atoms being oxidized Electrolytes: minerals in body that contain electric charge, things like pee, sweat, and tears have electrolytes. What we did: step 1: scrub one side of penny on sand paper to get pure zinc step 2: cup cardboard the size of penny (once everything is put together nothing can touch) step 3: soak cardboard into vinegar to get some electrolytes step 4: stack pennies and cardboard in the same order until all 6 pennies are used Meghan and I worked on this experiment together and found it very time consuming. Since we needed to sand the copper off to get 100% zinc it took awhile for it to come off. Below is a picture of how it looked after we sanded down most of a penny. Our light looked just like the other ones because most people used to exact same material to complete this project. Our light was taped with black thick tape. The black tape was needed to hold down the negative and positive wires to the led could start the electrical current and light up. The pros of the black tape was that it hield everything down but the cons was that no material could be touching each other unless it was penny, cardboard, penny, cardboard etc.. If the cardboard is touching on the sides the electrical current will stop and the led will not turn on. Obviously tape holds everything together but you really need to be precise about where and how you tape it or it will not hold together. 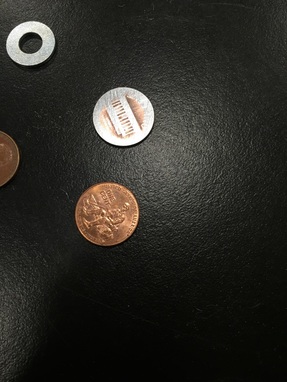 How did the project turn out?
Meghan and I tried to get the led working as best as we could but the part where we messed up was the taping part because in order for the led to work we kind of have to wiggle it around. It does work but I think we could have done it better. If we had more time then I think we would be able to make sure everything is placed correctly and maybe able for it to work on its own. Without us wiggling the light around, it will still work but it wont be as bright. If we could do this again then I think I would want to do more research and find different ways to conduct this product. I think that I am better at mixing different "recipes" together to make one grand product. As I mentioned before if I could go back to this same led then I would tape the led better and find a way let it light on its own. What I am taking away from this project is basically knowing that things that we use in our everyday lives can be more useful then we thought. Especially something so simple like pennies. I would have never imagined that you can light an actual led with pennies, cardboard, and vinegar. |
AuthorWrite something about yourself. No need to be fancy, just an overview. Archives
May 2015
Categories |
 RSS Feed
